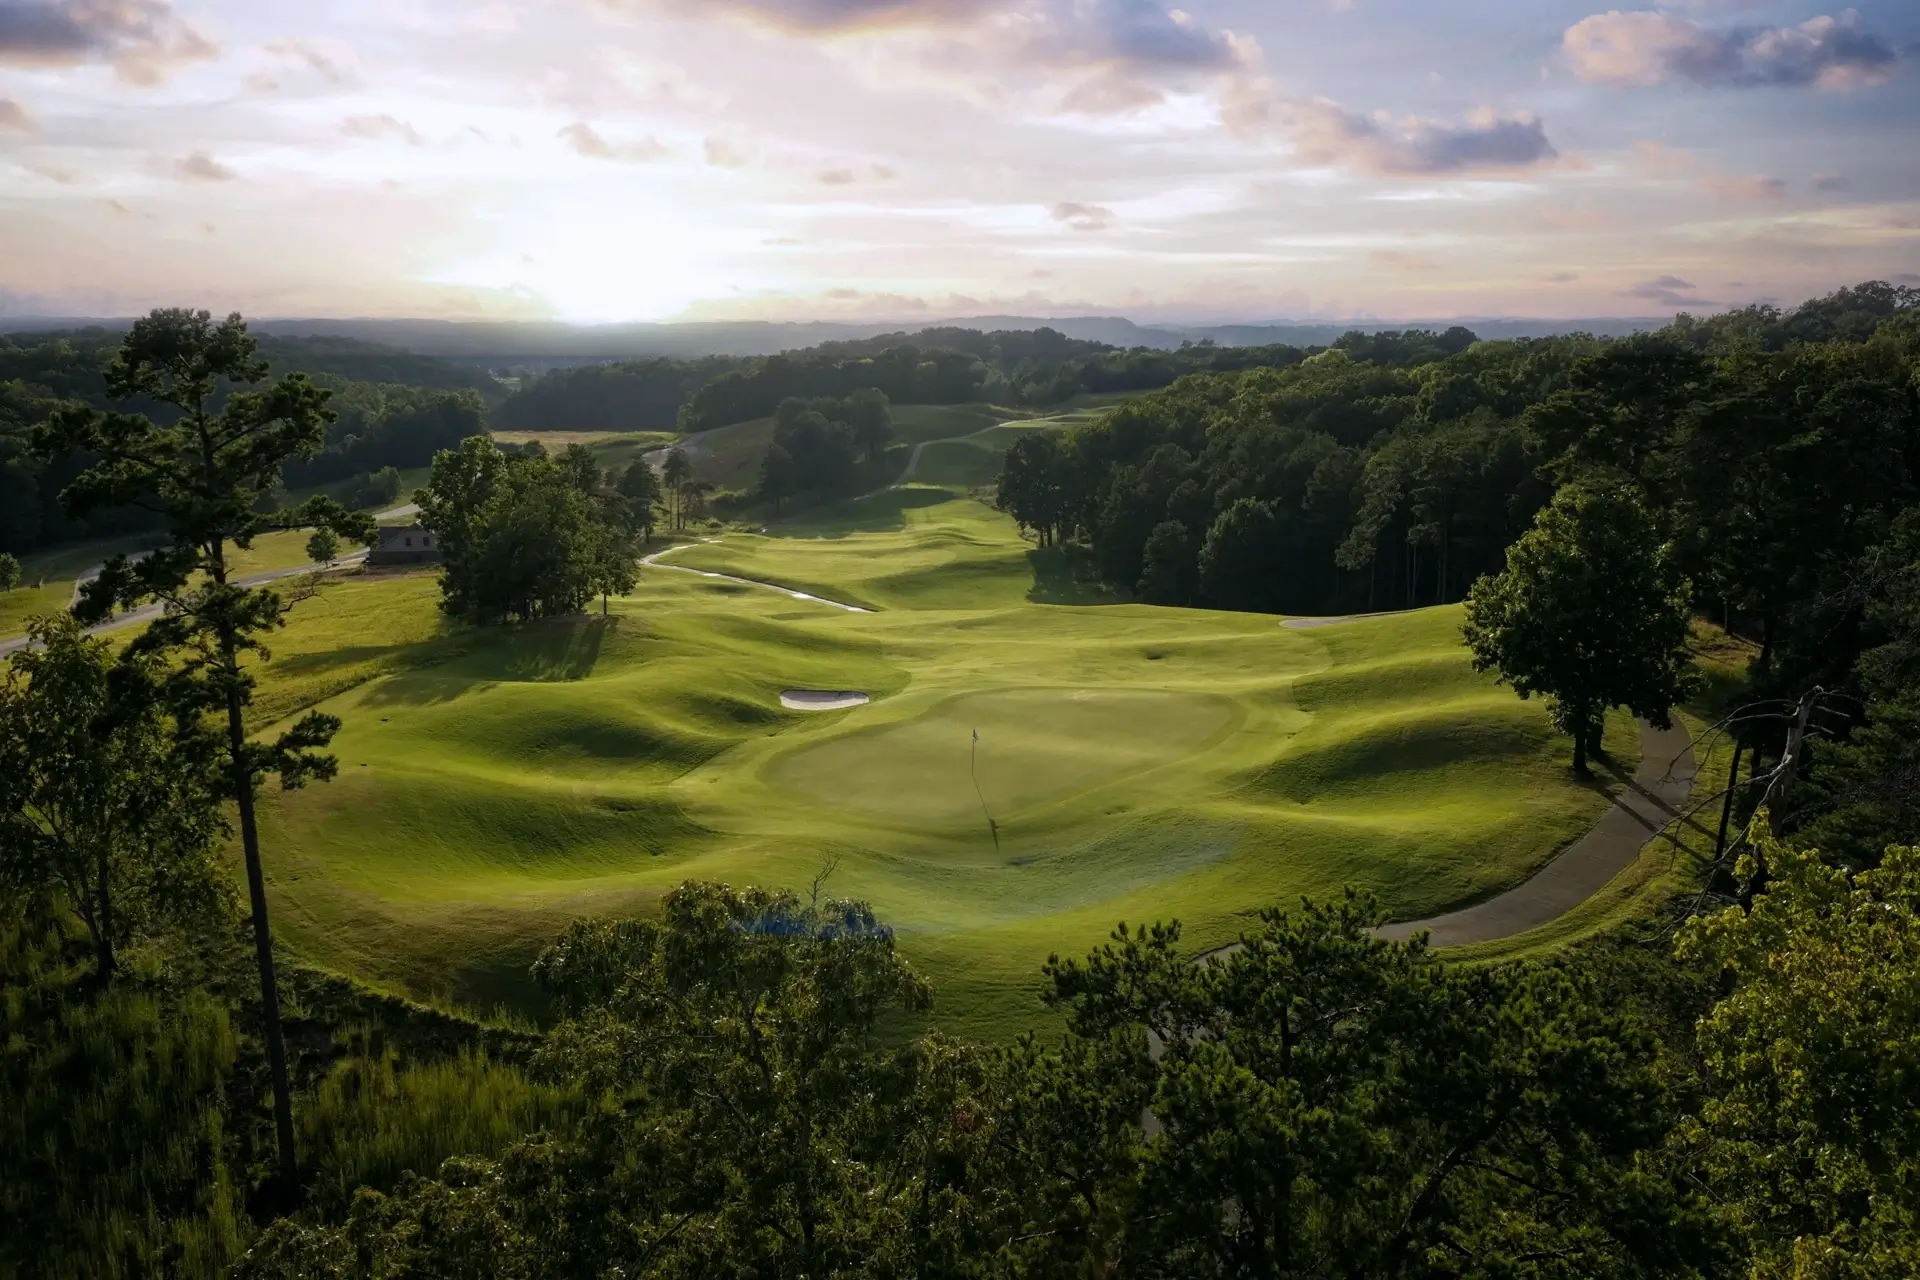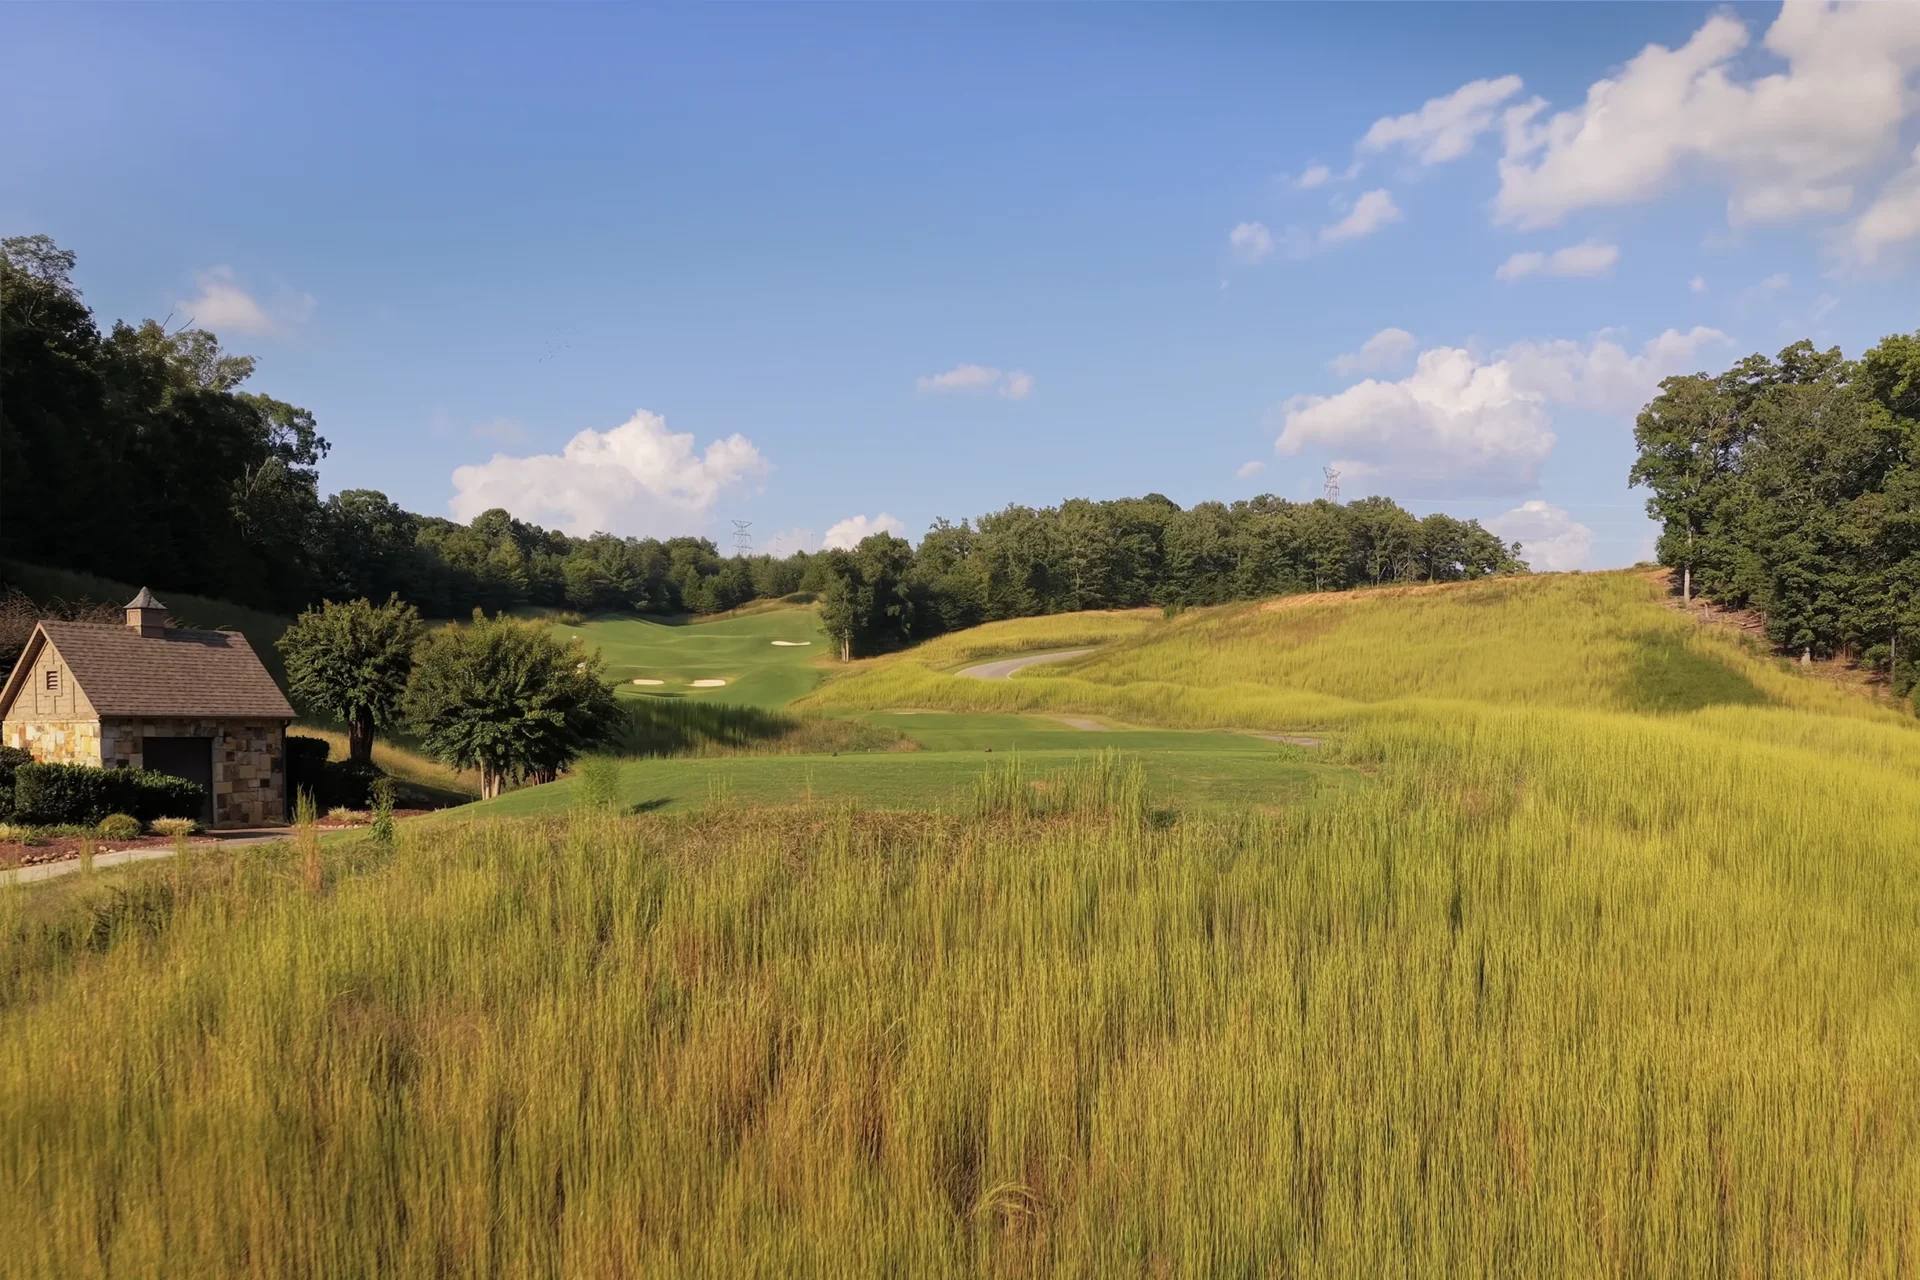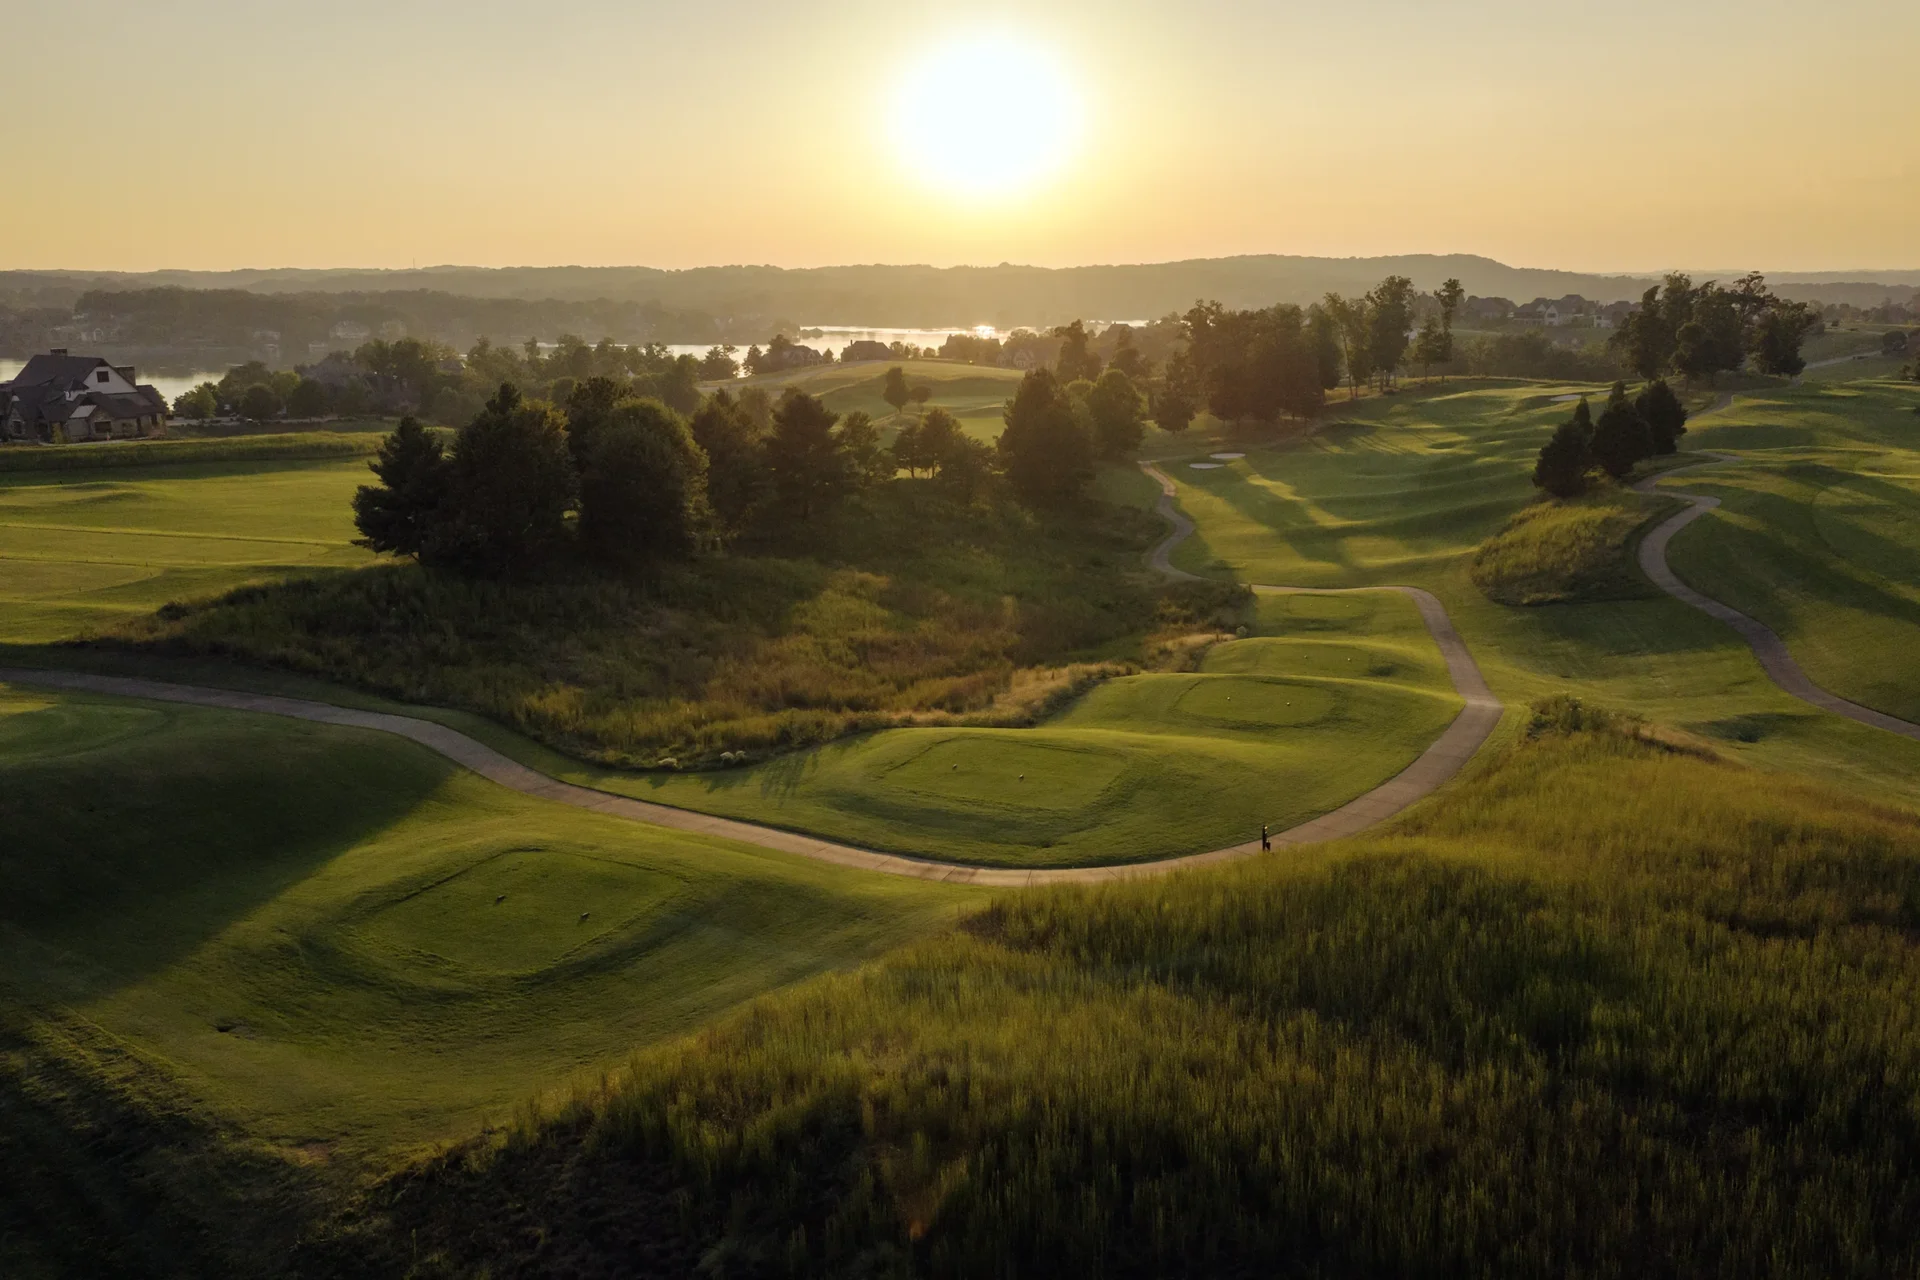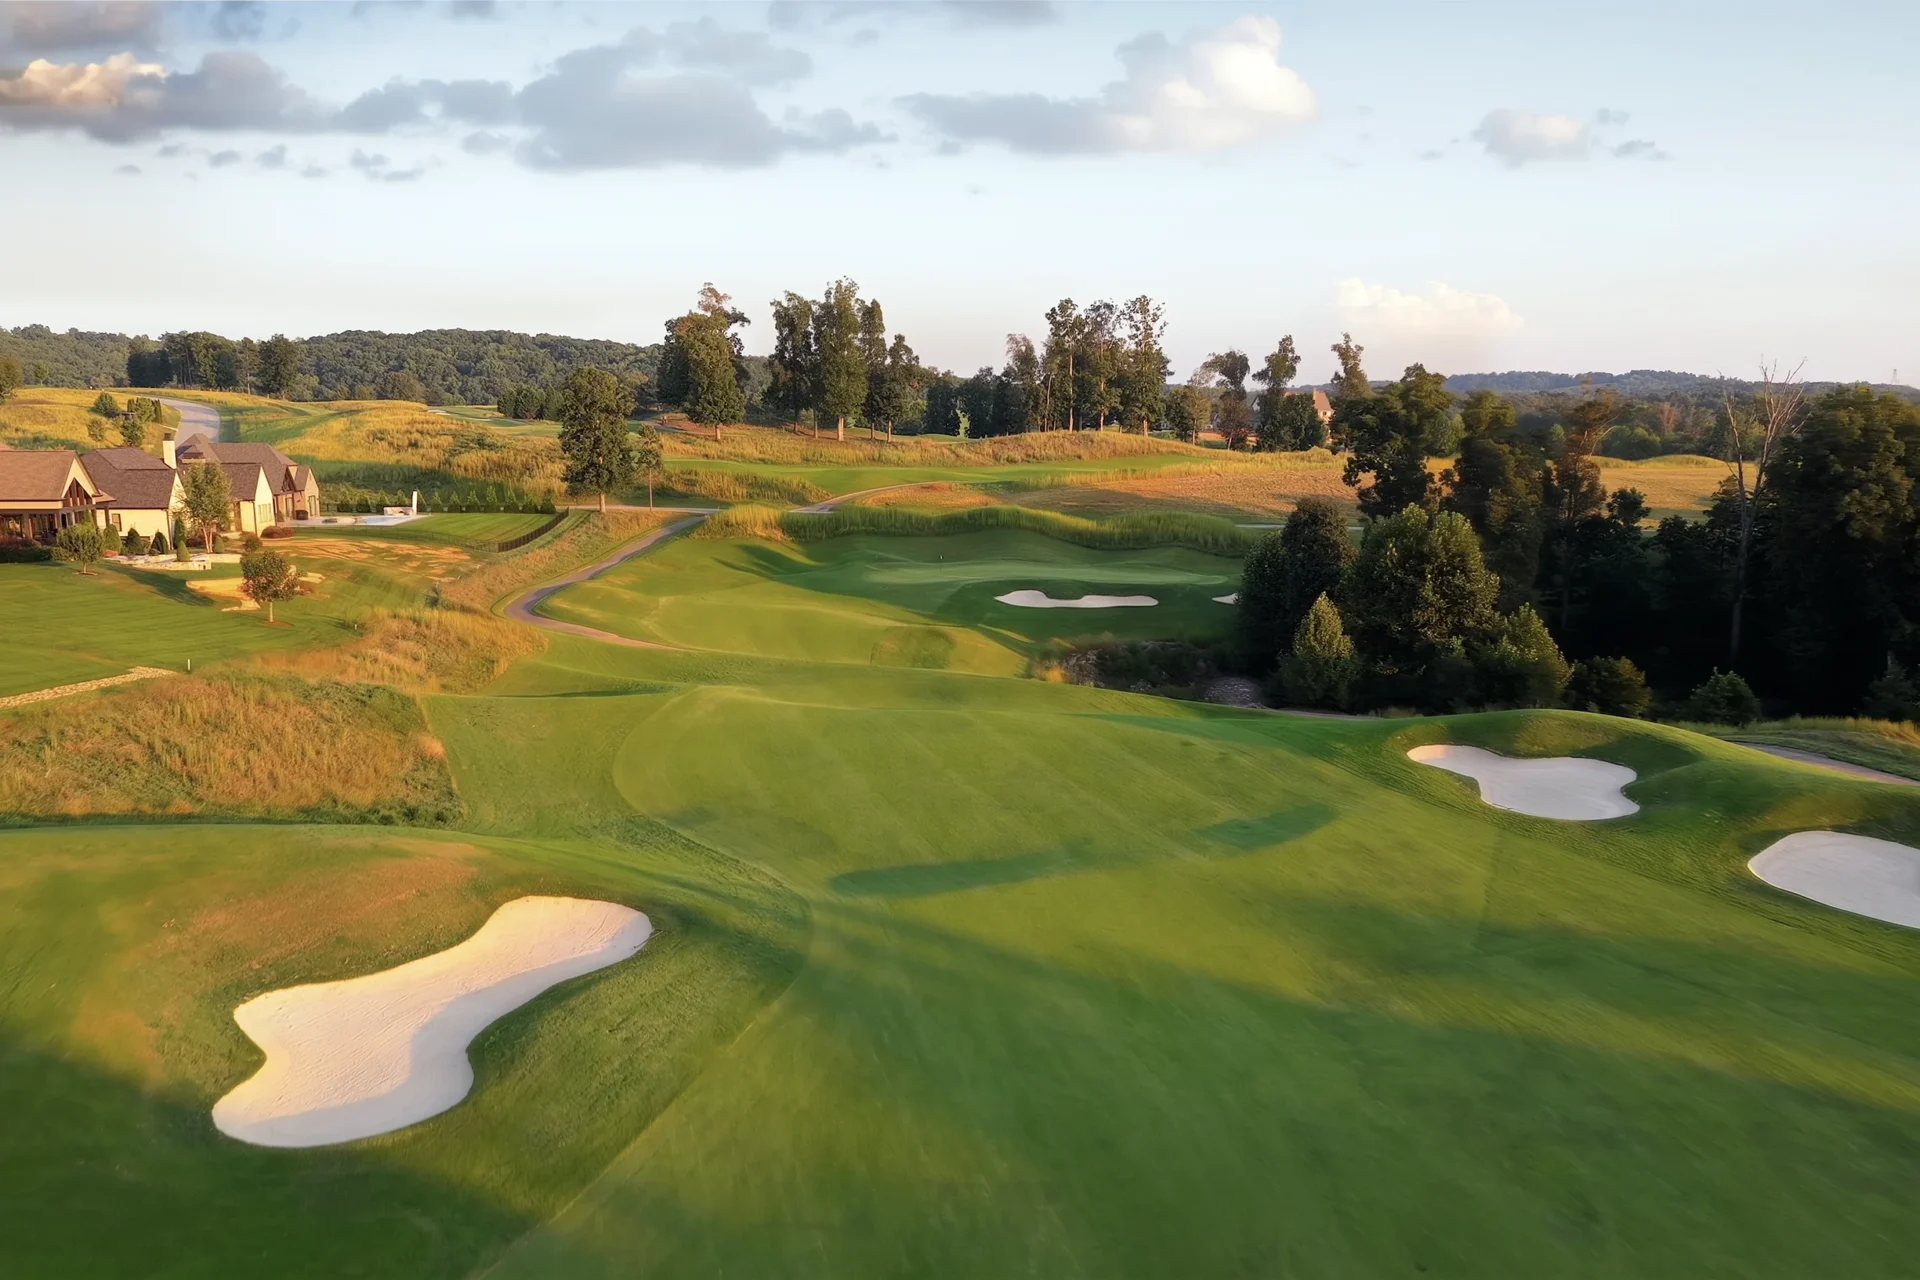
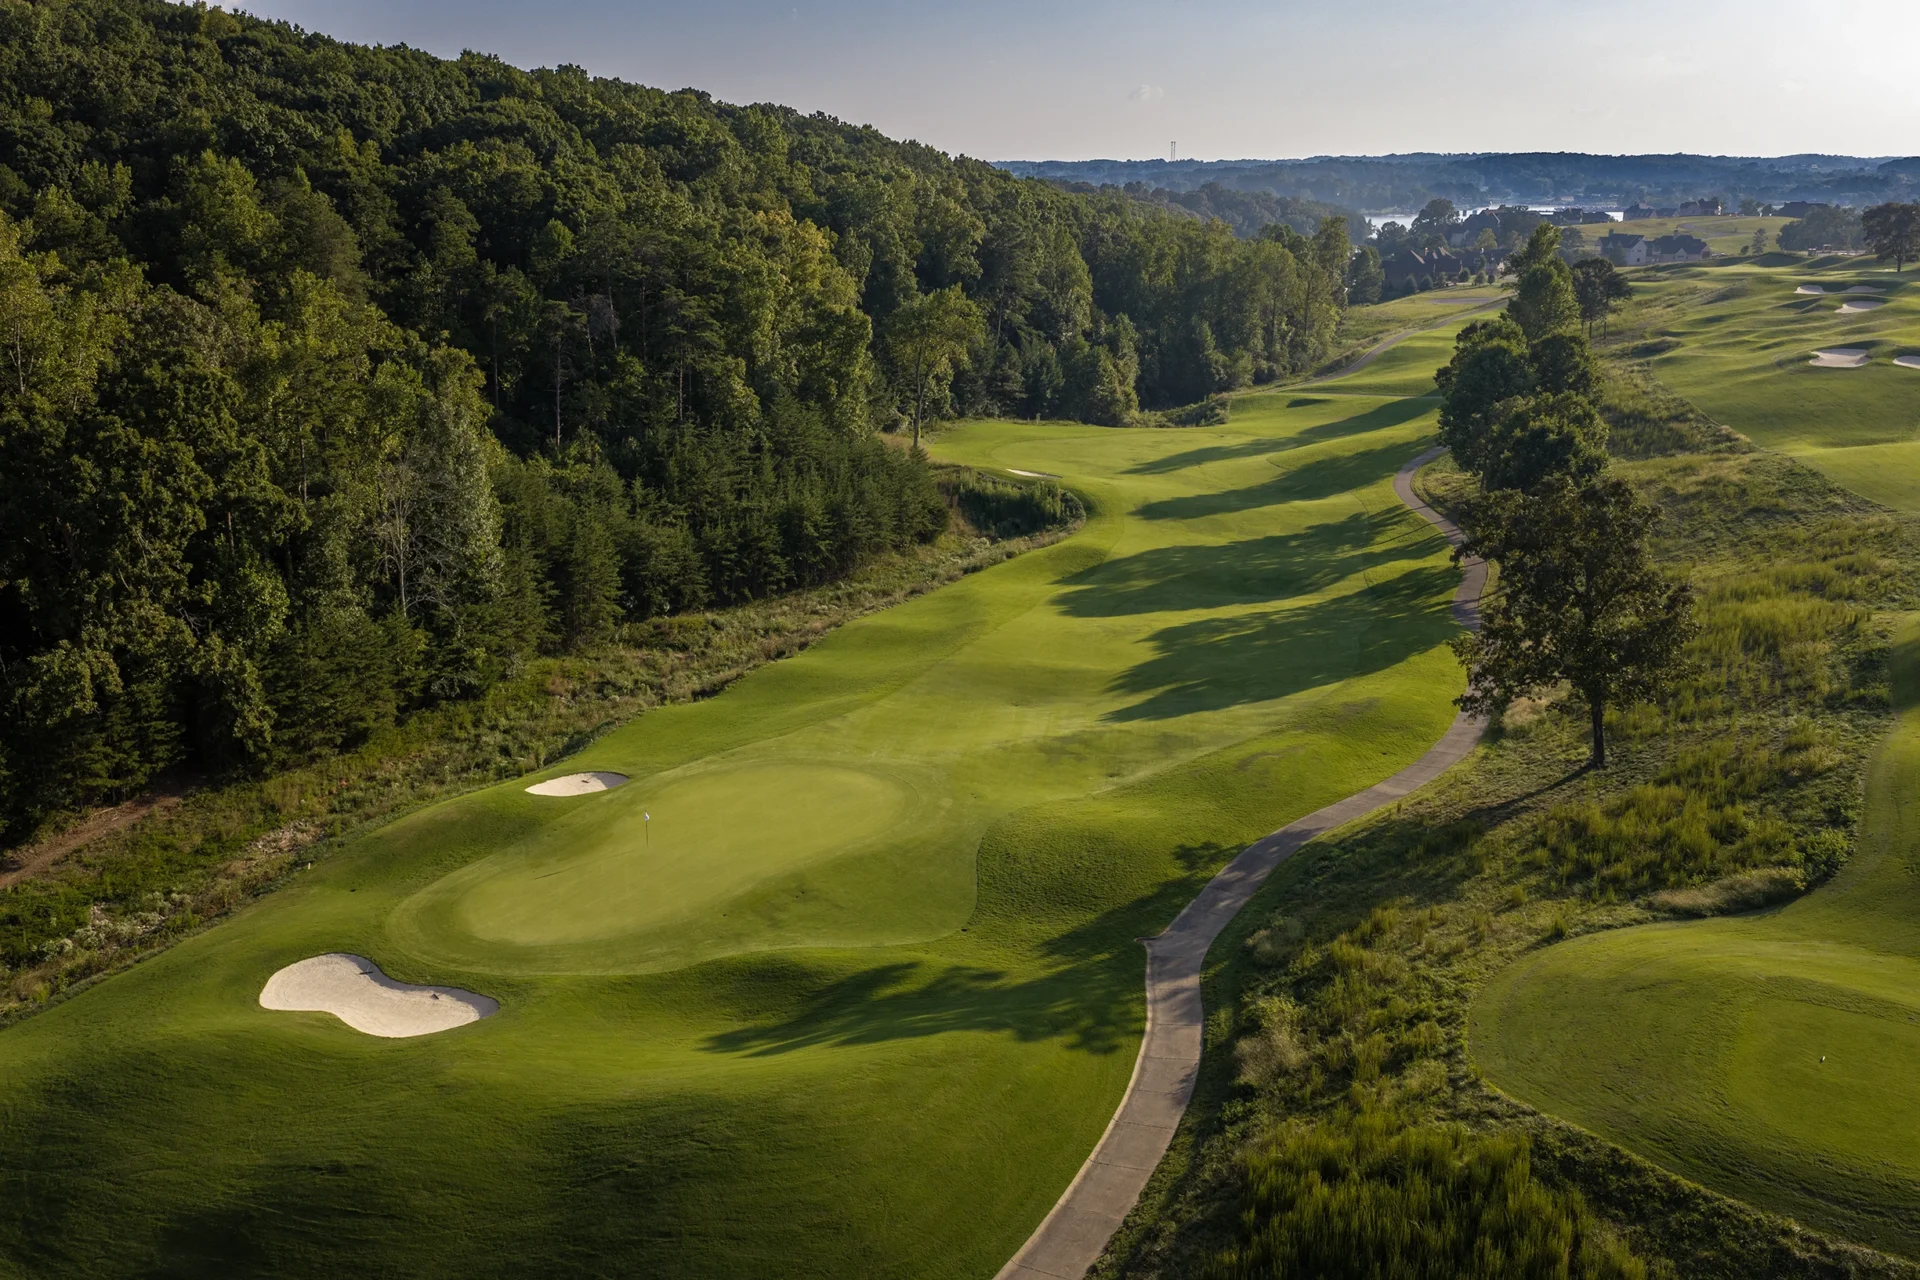
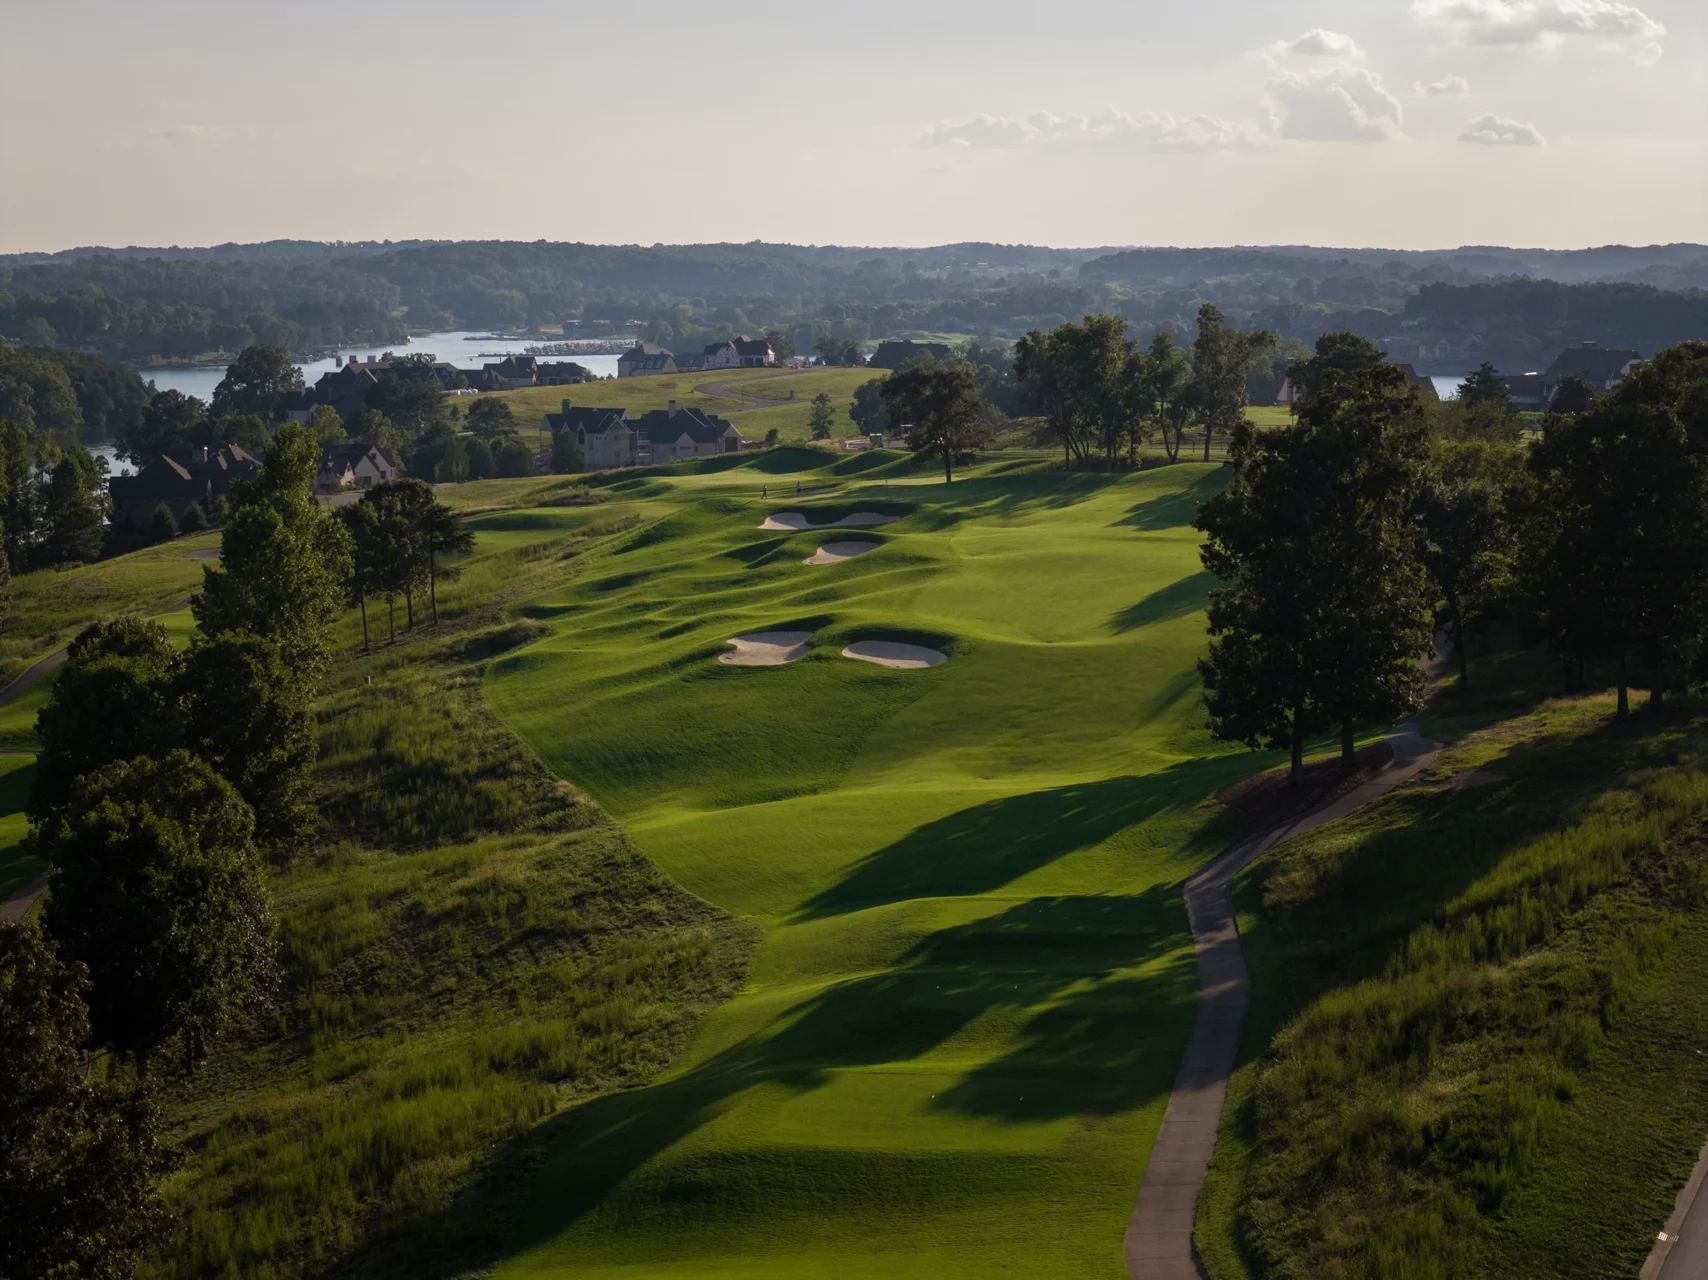
Hole 10
Par 4
- 449
- 421
- 388
- 346
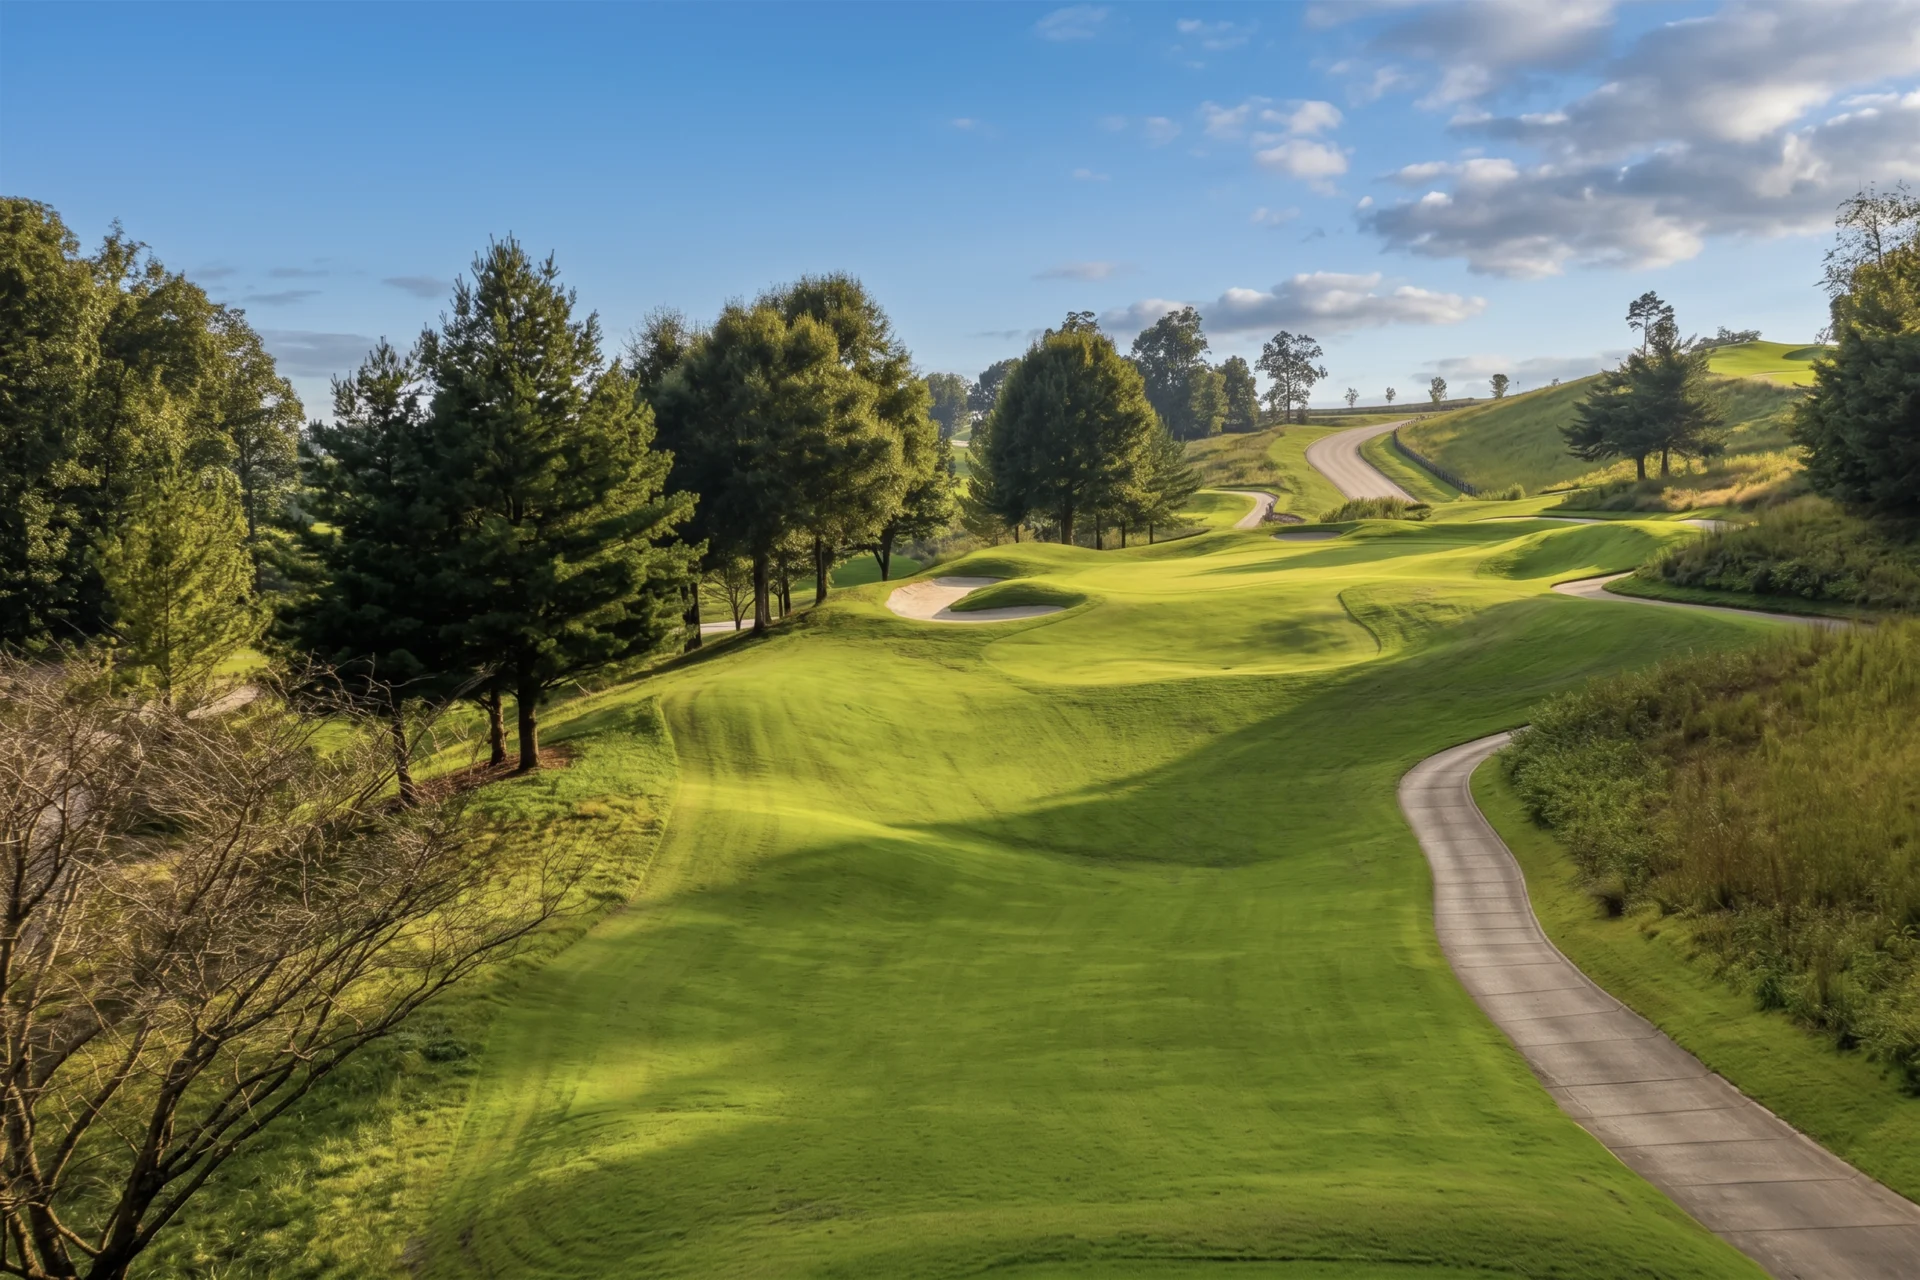
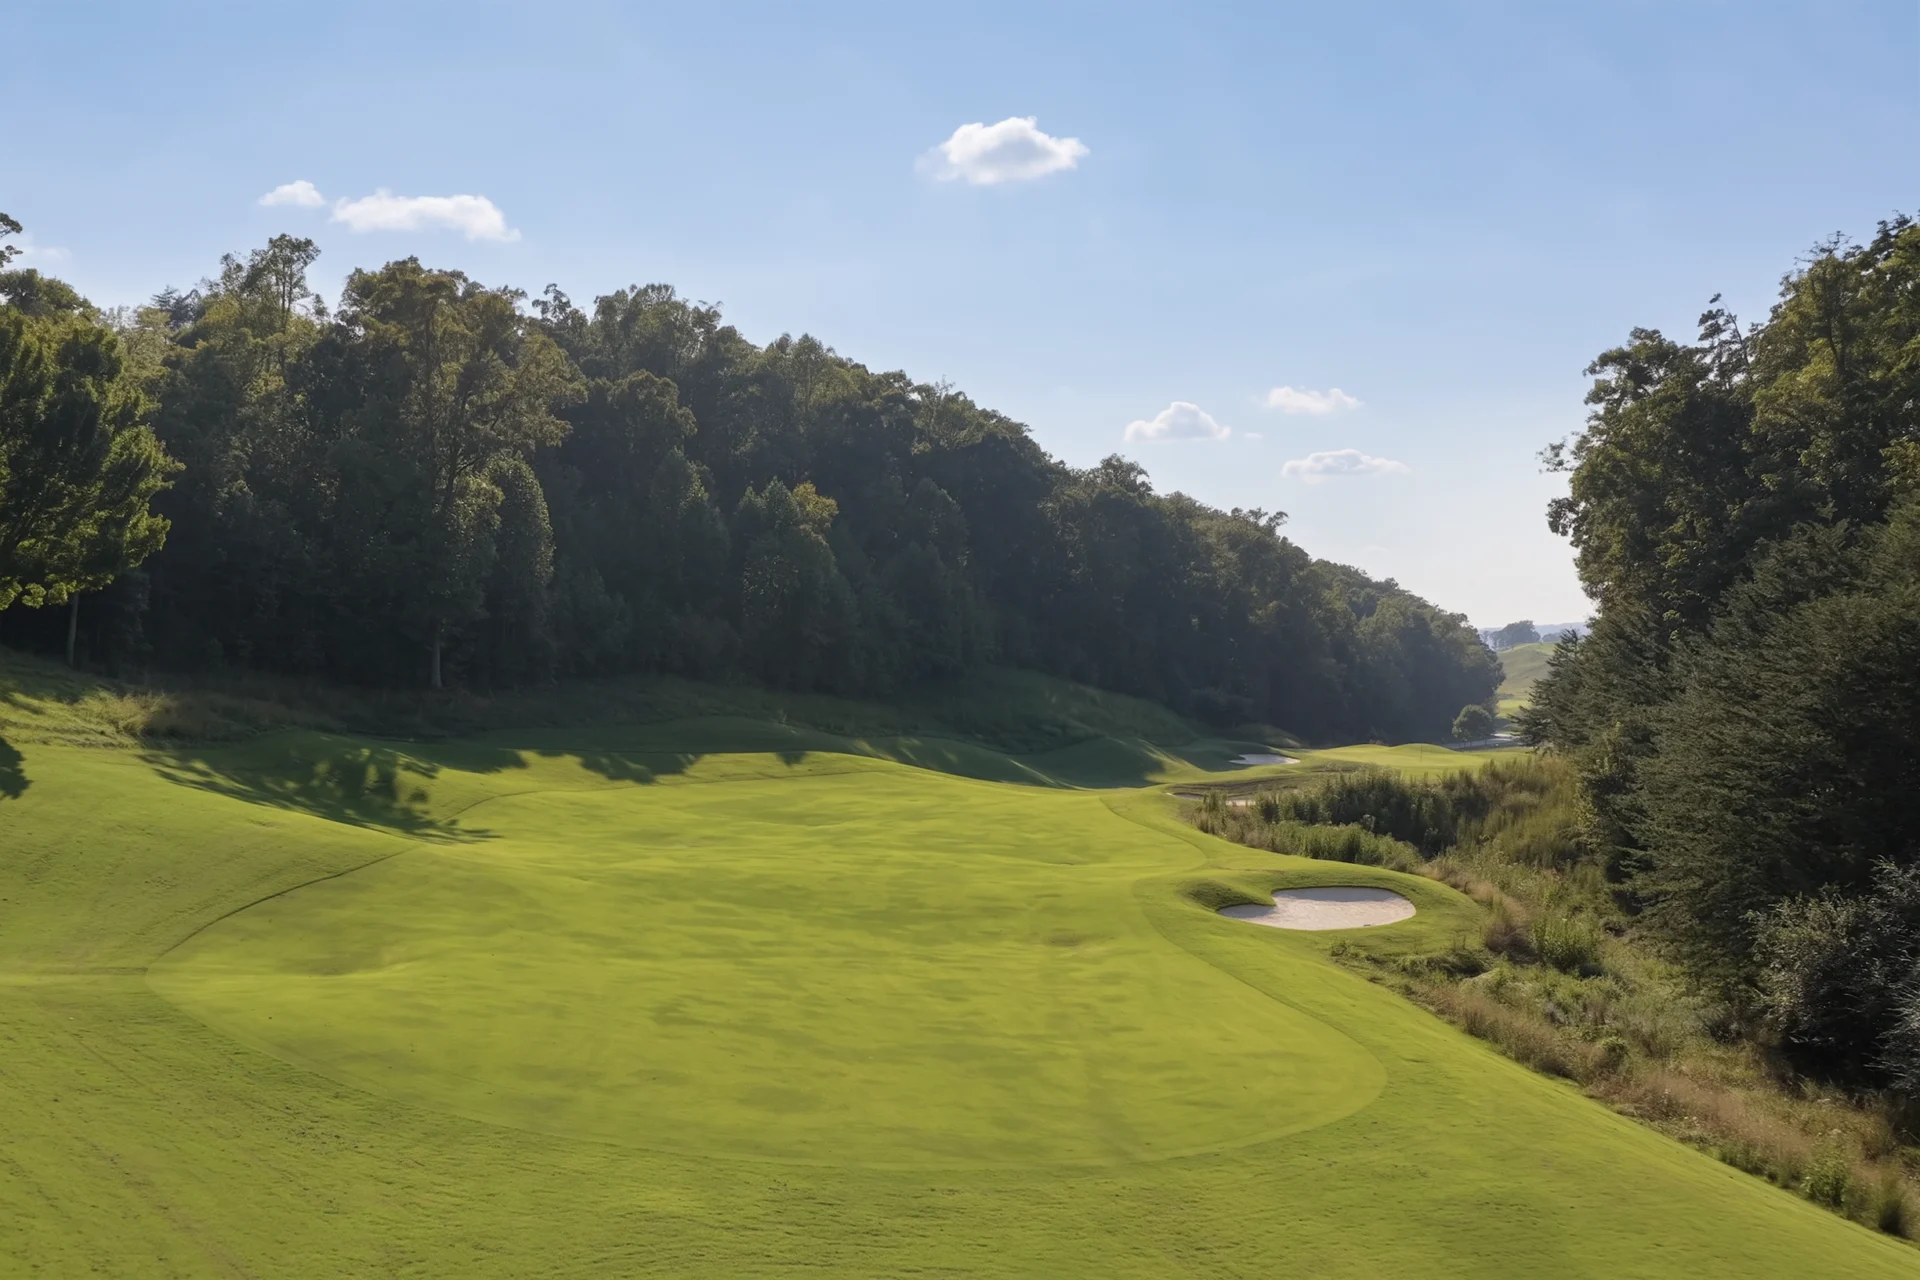
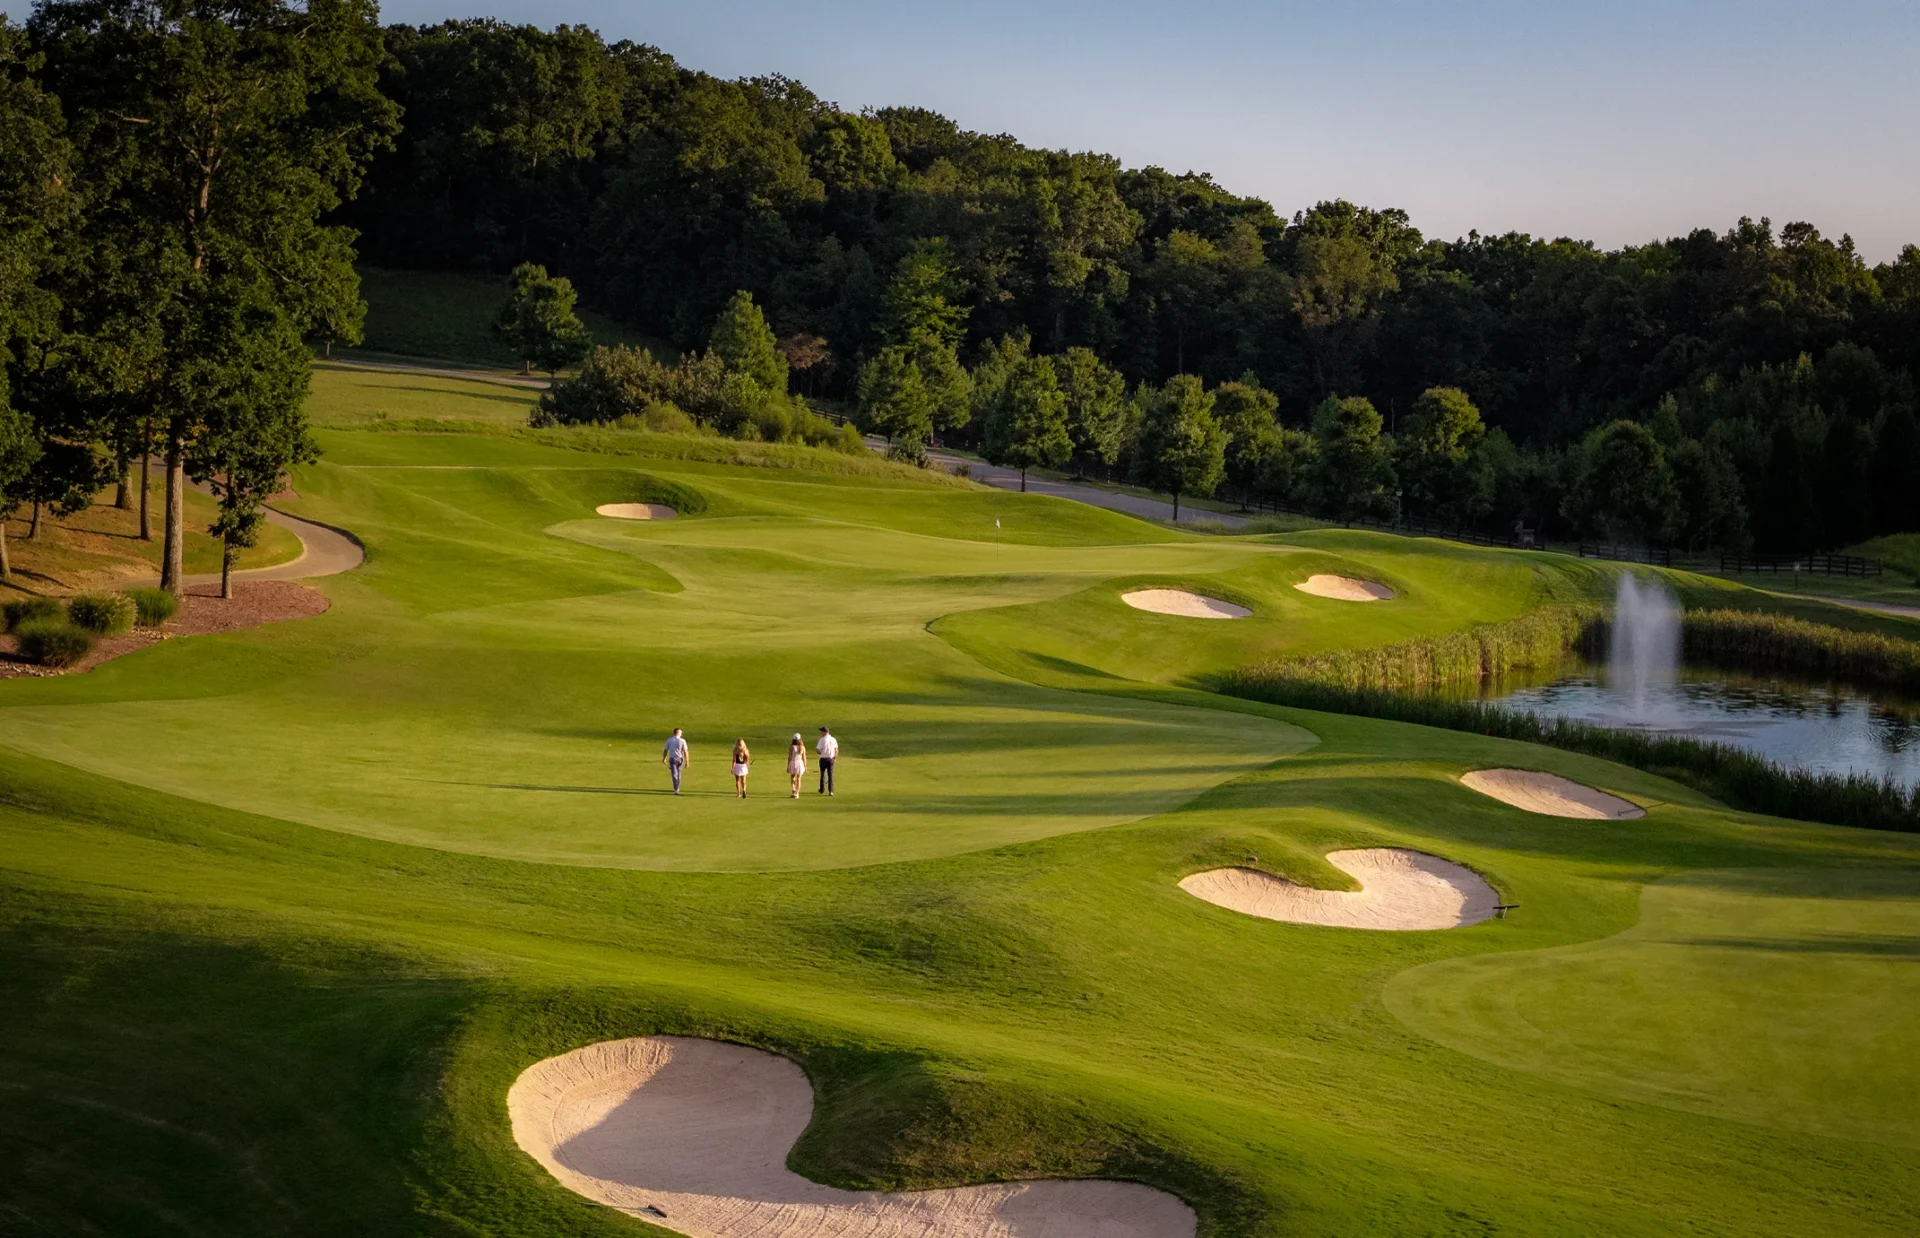
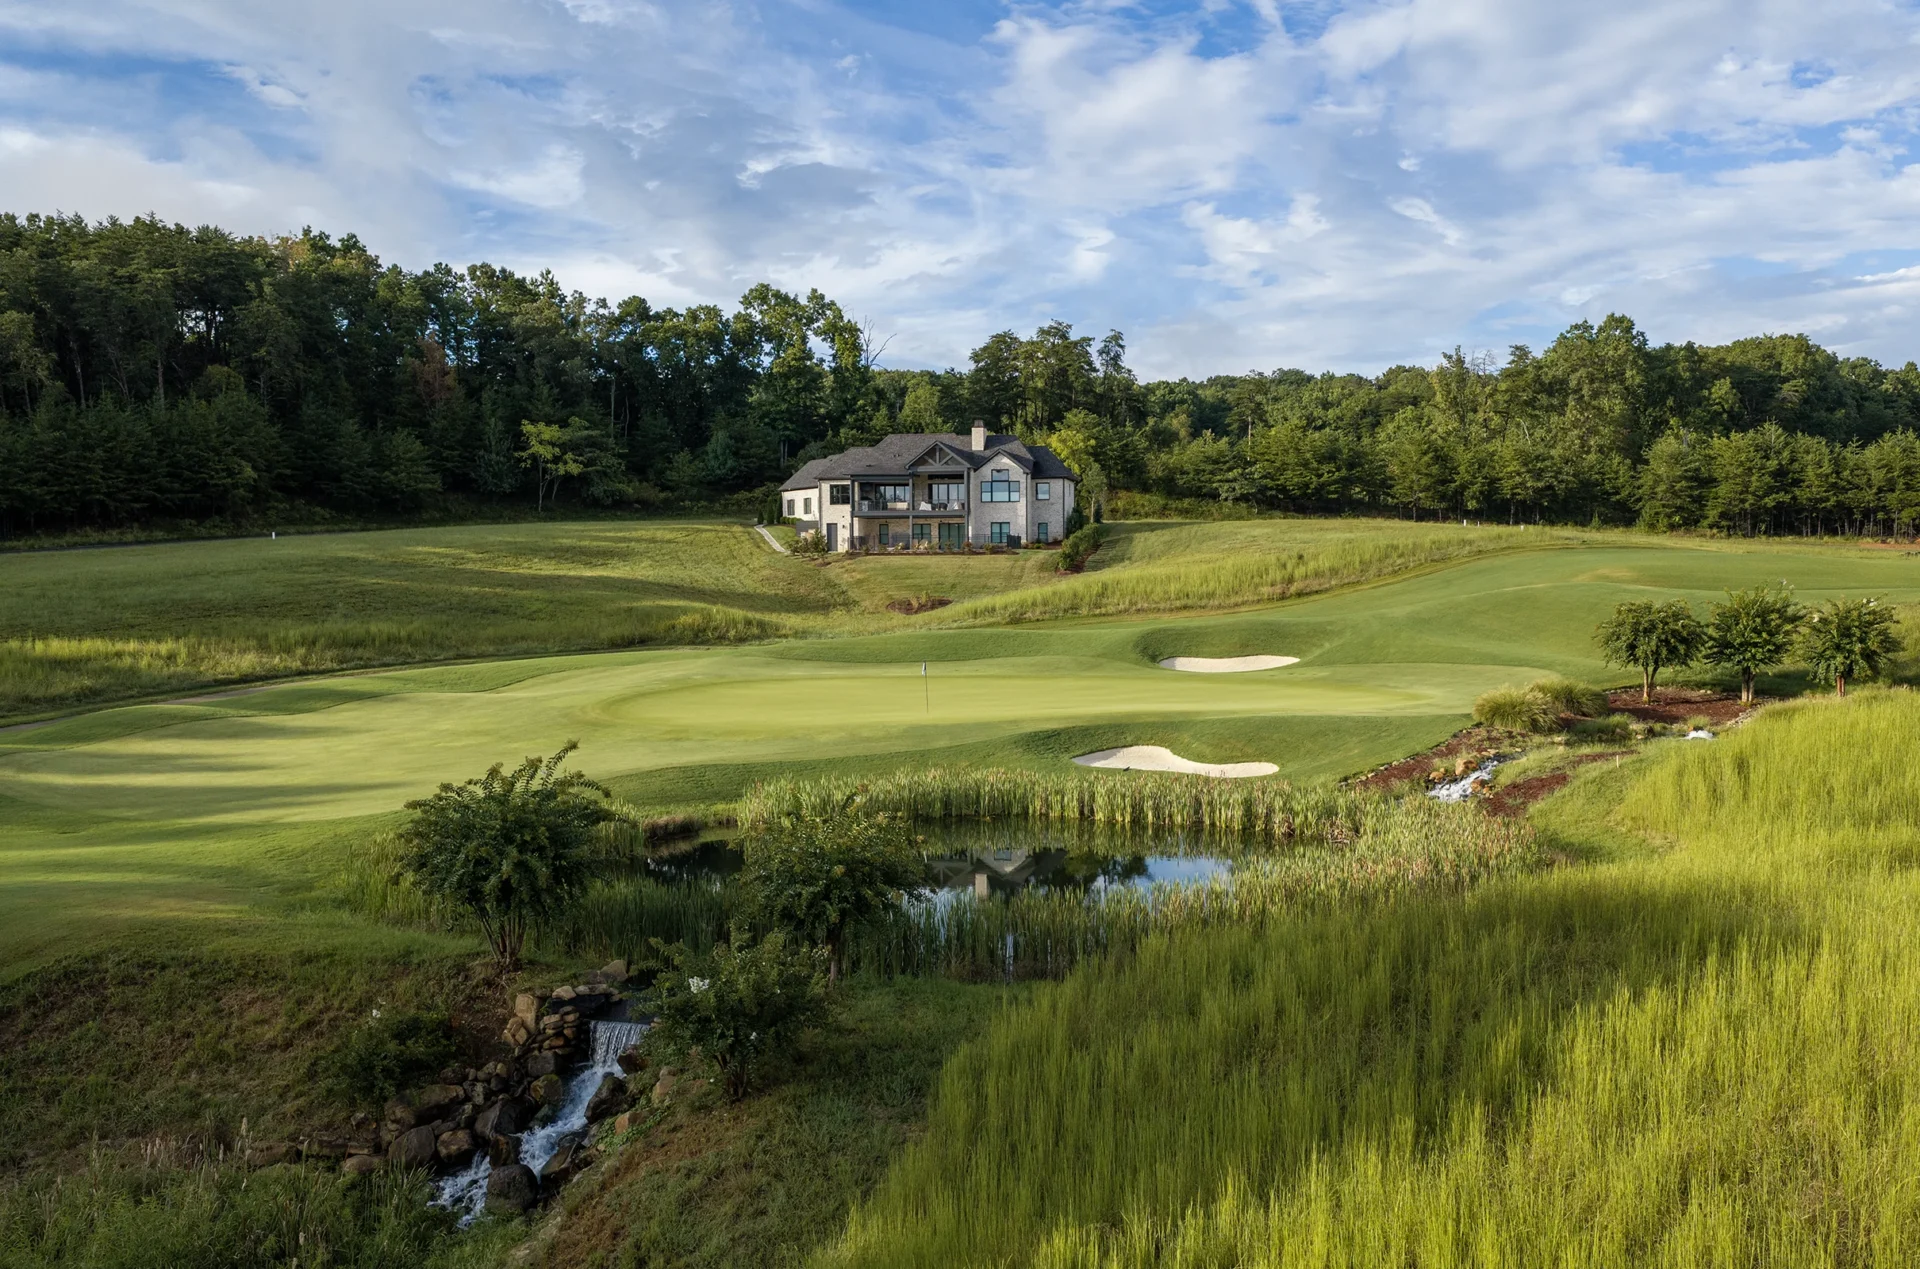
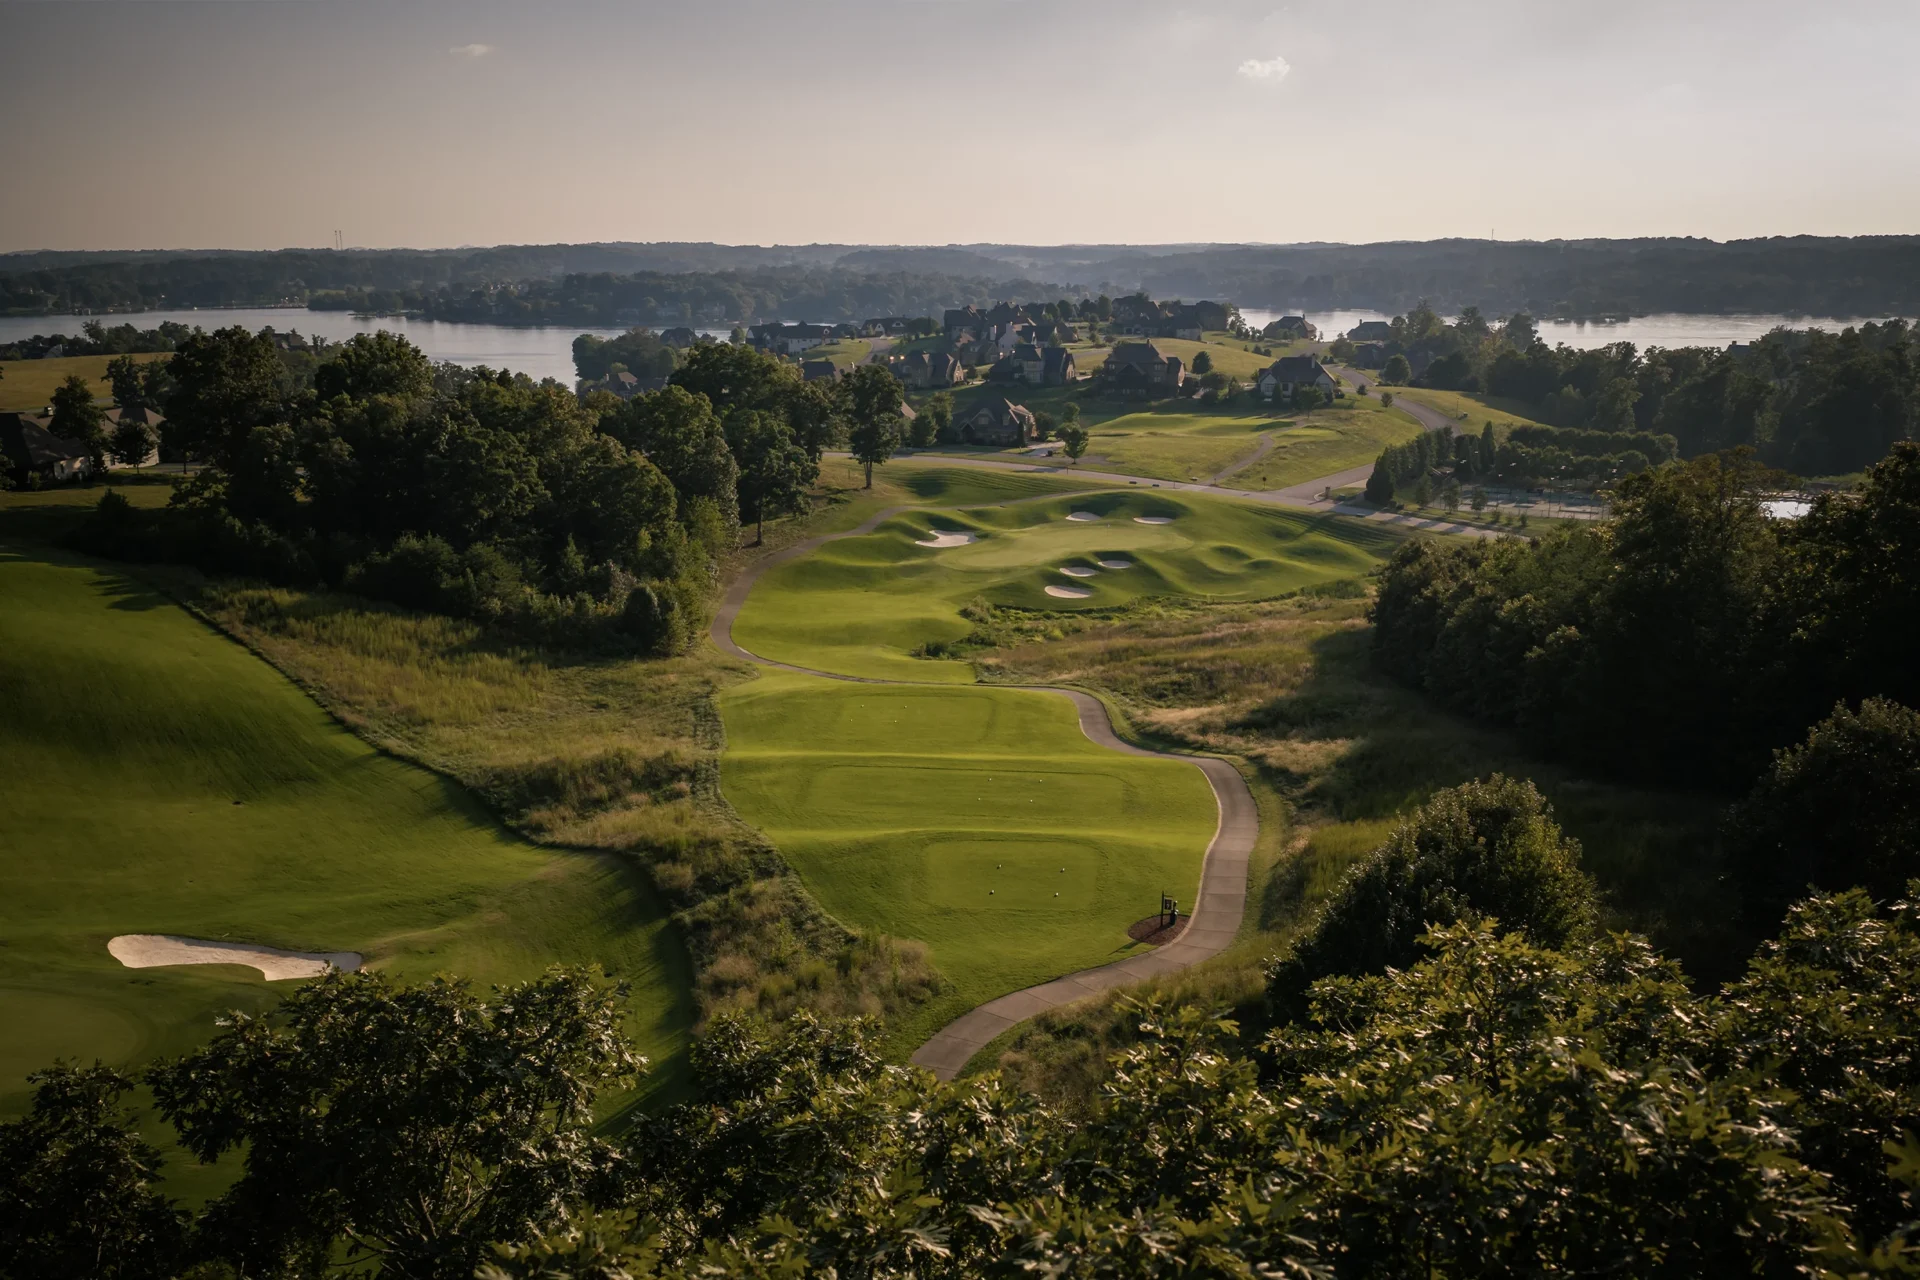
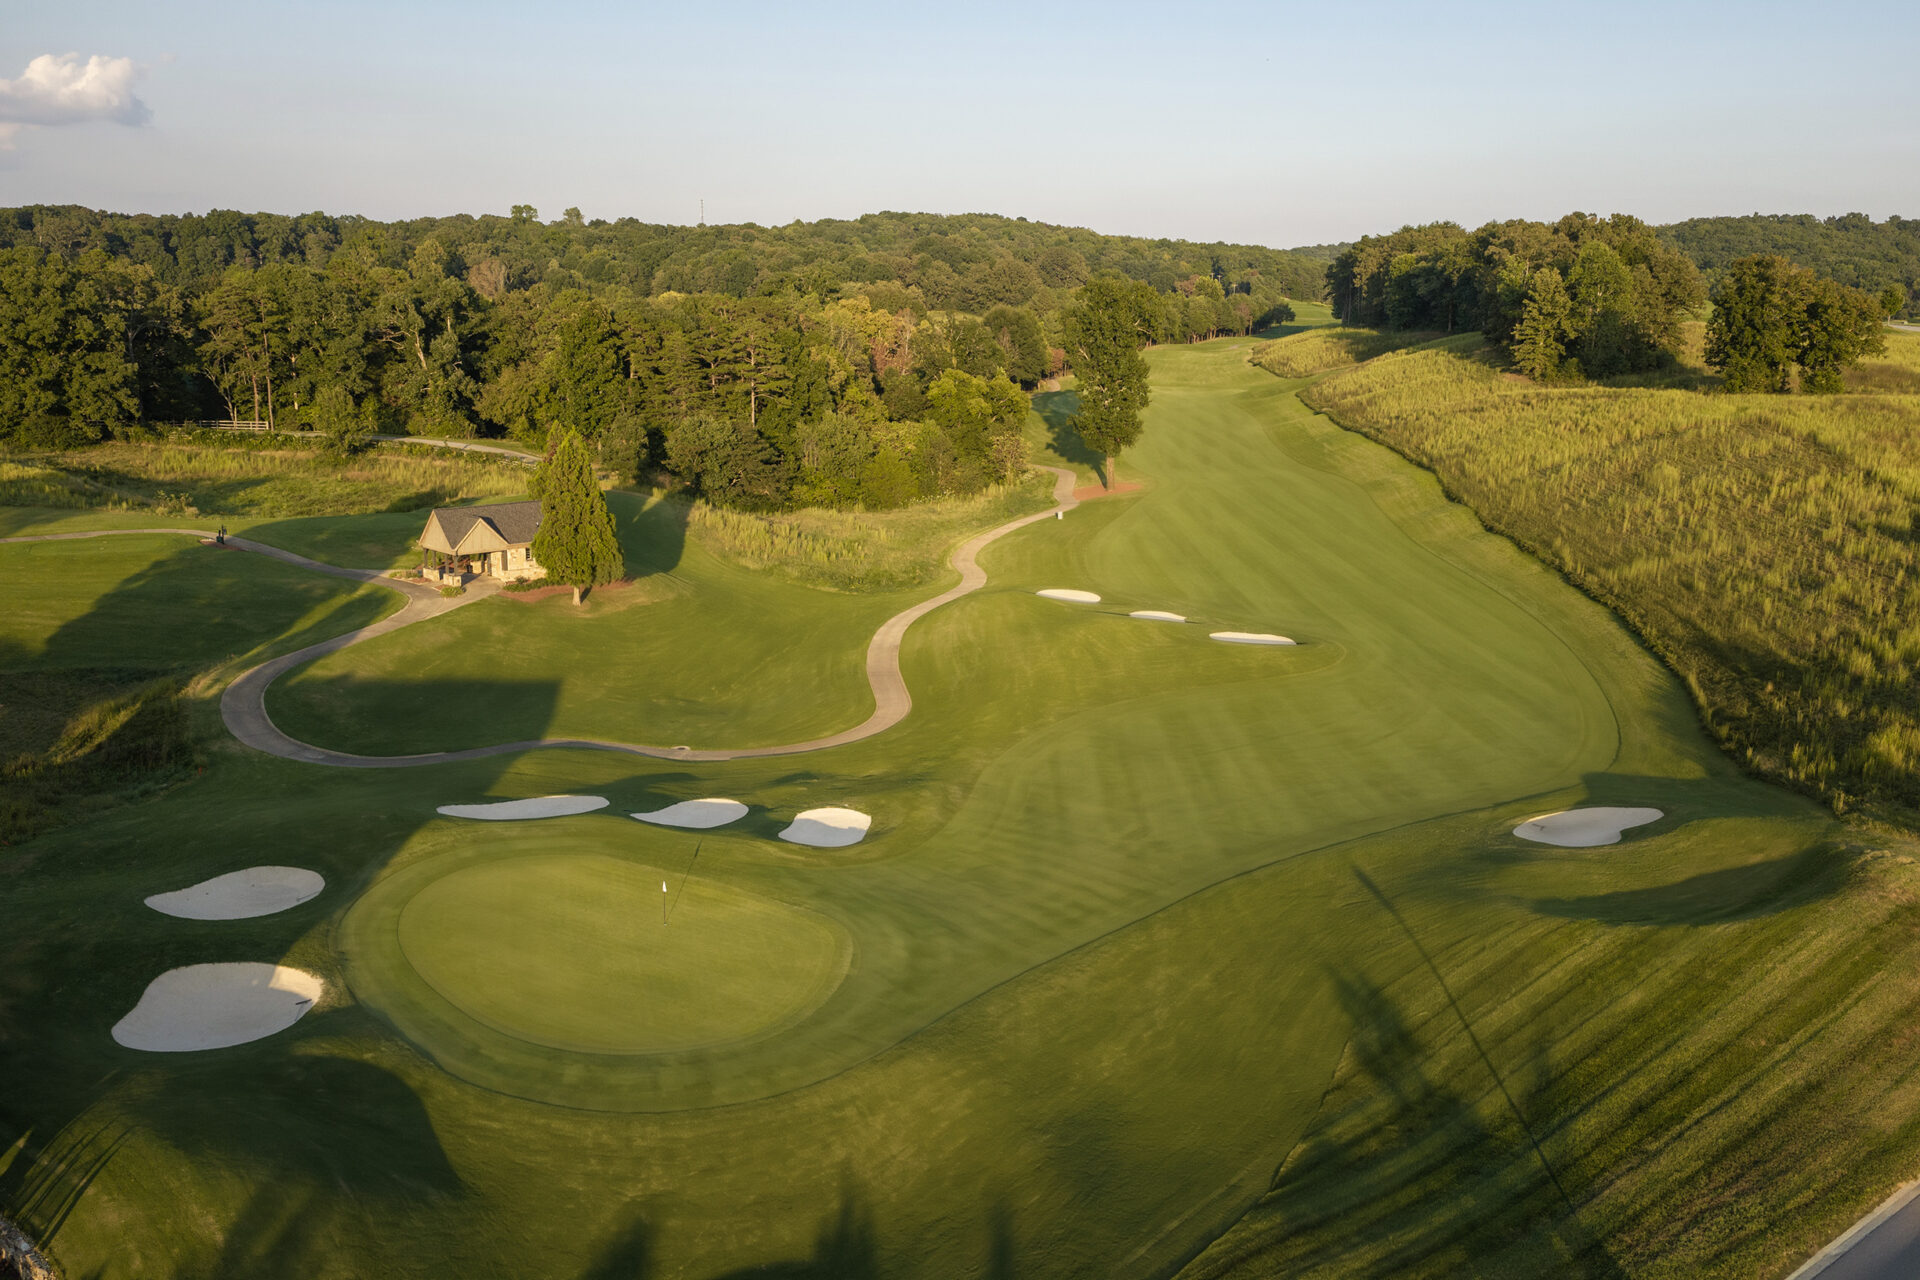
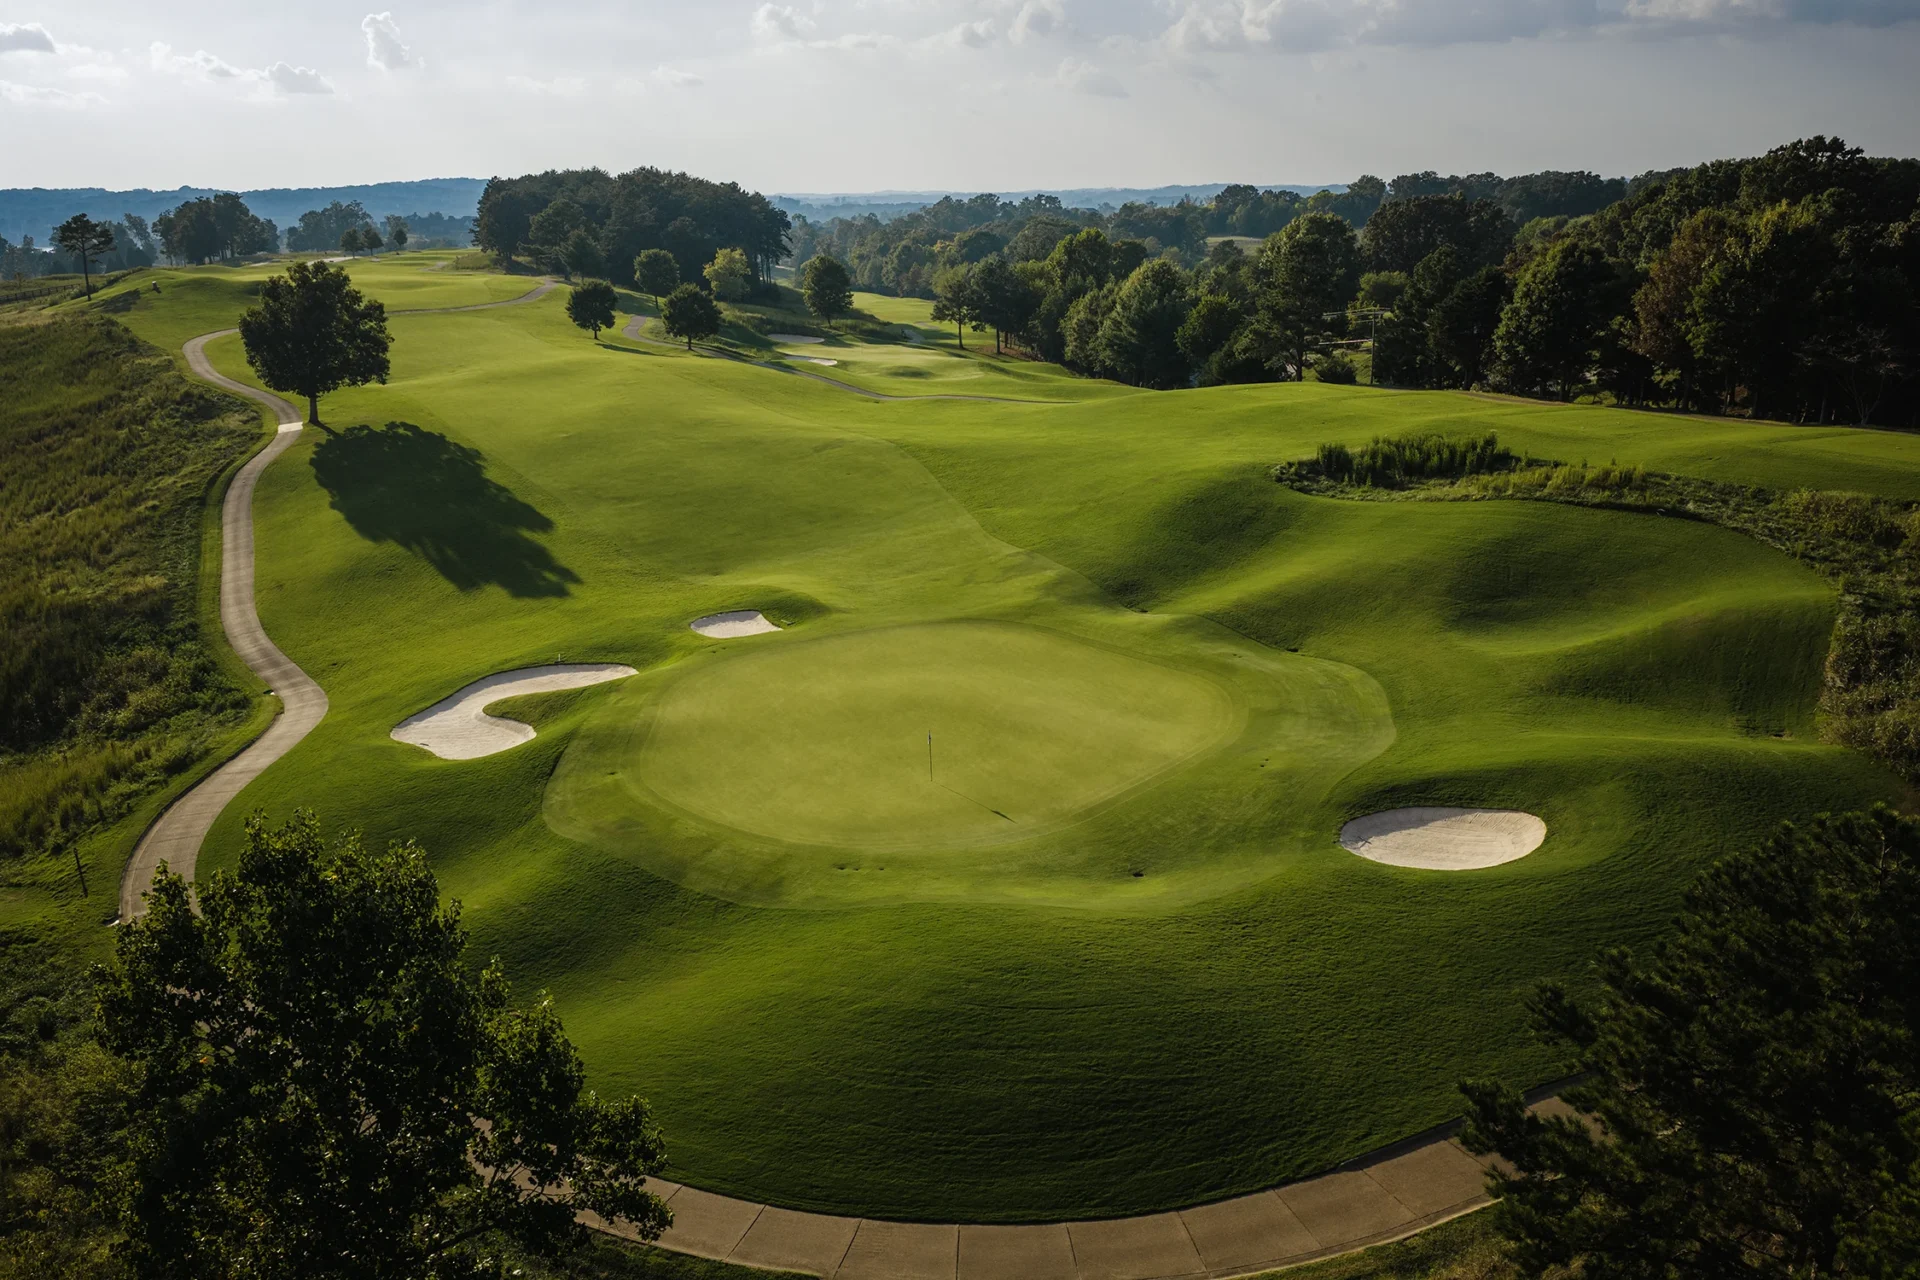
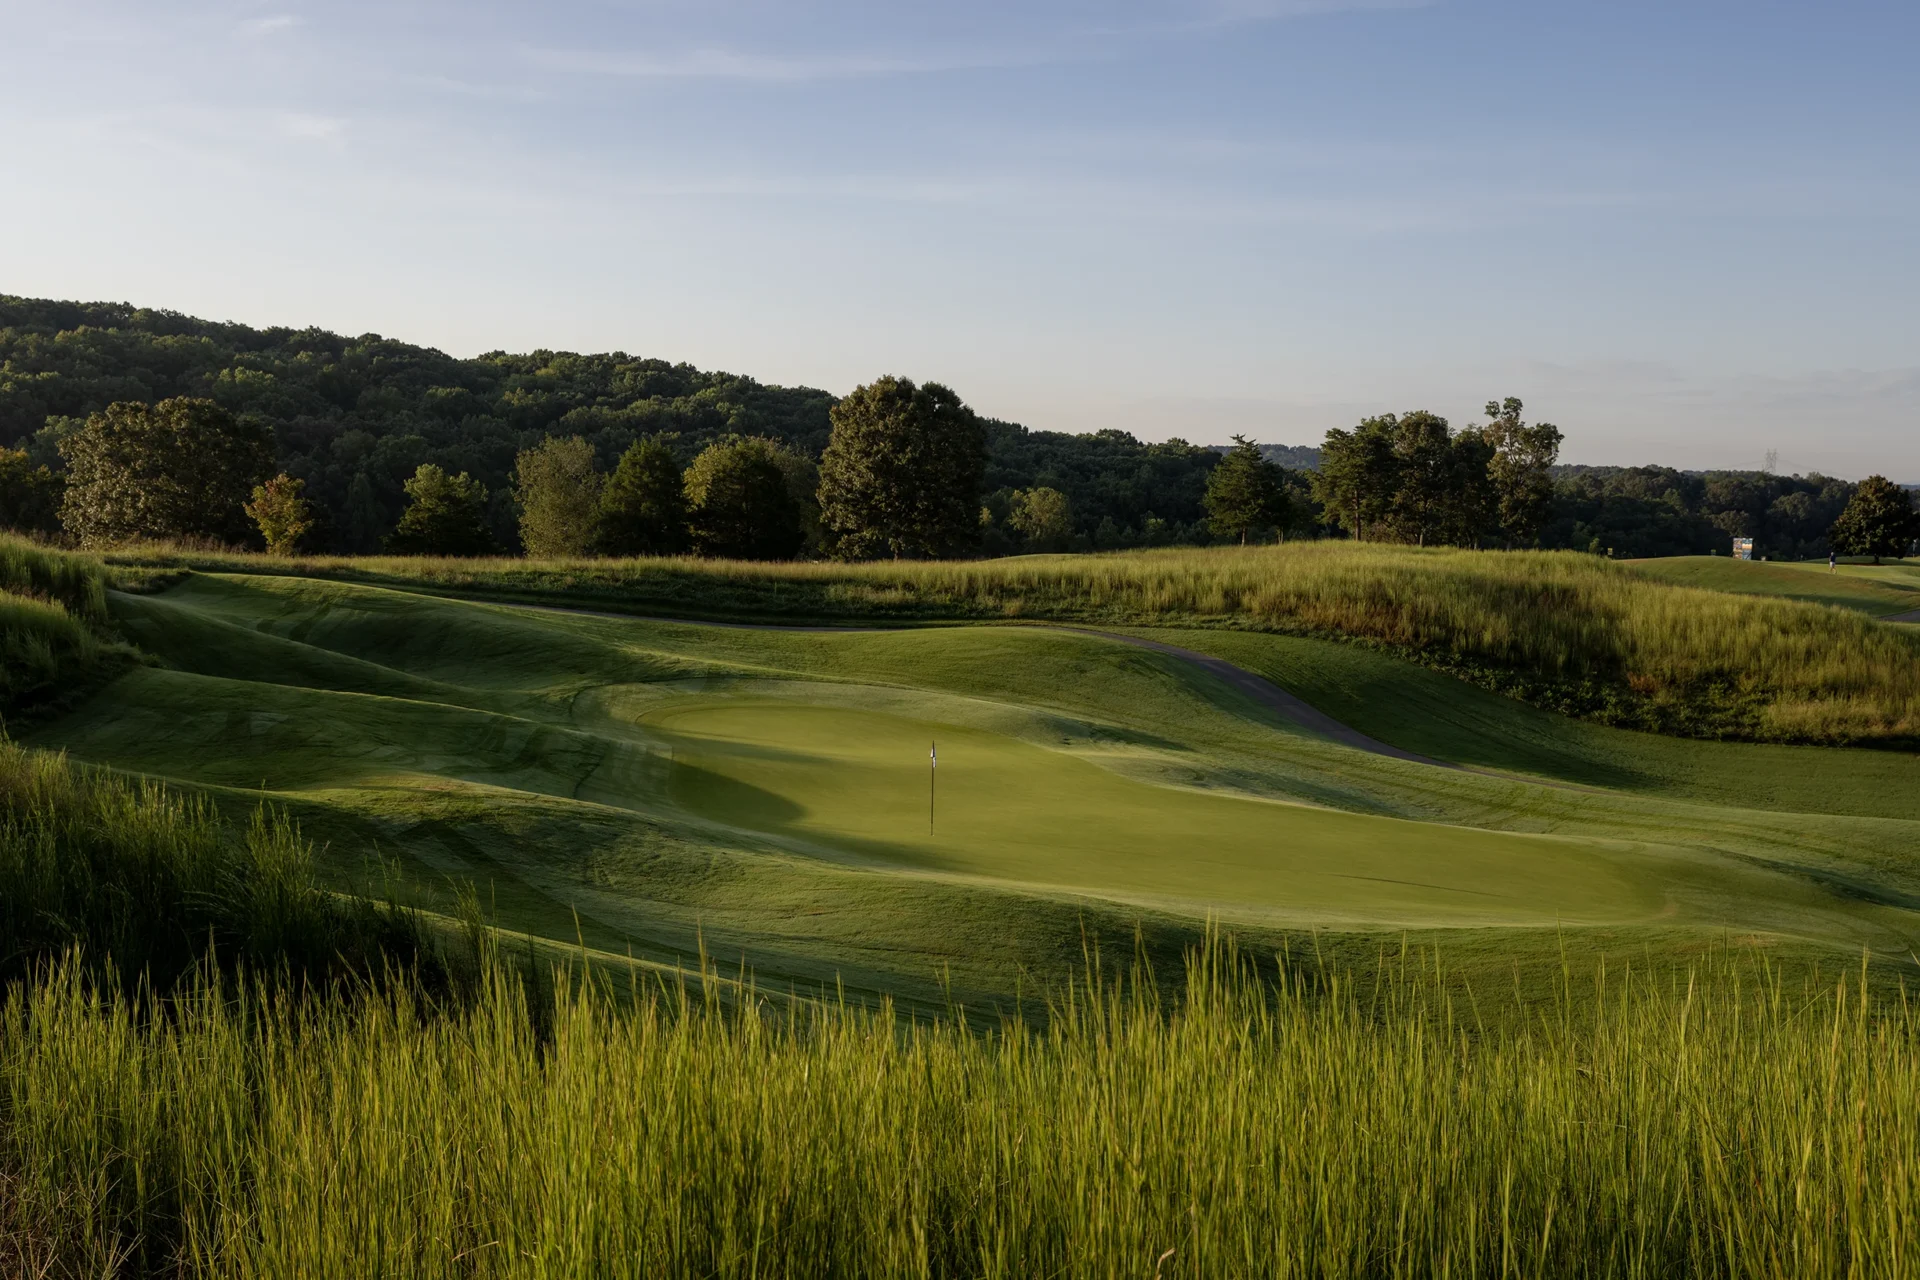
The back nine opens with a strong and visually appealing test. From the tee, players are required to hit a controlled and well-placed drive, as the fairway shape and surrounding hazards reward accuracy over distance. On approach, distance control is important, especially with elevation and green firmness influencing play. Players who find the correct section of the green are rewarded, while anything offline can quickly turn into a scramble for par.
Hole 18
Par 4
- 420
- 363
- 325
- 290
Hole 18 is an uphill and challenging finishing hole. On your approach, don’t go long as it slopes away and you will find yourself in a position that is not favorable.
Hole 17
Par 3
- 235
- 205
- 181
- 161
Hole 17 is the last of a great collection of Par 3’s. Here, players must focus on both accuracy and distance control. On the putting surface, undulation and strategic bunkering create difficult up-and-down opportunities, especially for shots that miss in the wrong areas
Hole 16
Par 4
- 435
- 404
- 377
- 338
A strategic par 4 that doglegs right. Players are required to place the ball accurately in the fairway, as the hole rewards positioning over pure distance. The approach shot demands precision, with the green guarded by bunkers and natural slopes that narrow the landing area. Around the green, misses can leave difficult recovery shots due to undulation and strategic bunkering. Players who hit the proper section of the putting surface are rewarded.
Hole 15
Par 4
- 494
- 455
- 440
- 392
Noted as one of the hardest holes at WindRiver. From the tee, players are required to deliver a controlled and well-positioned drive. Proper placement is essential to set up a clean angle into the approach. The green is protected by bunkers and natural contours that narrow the landing area. Club selection and distance control are critical, as missing the intended target can quickly lead to trouble. From here, undulation and strong bunkering create challenging recovery situations, putting a premium on hitting the surface in regulation.
Hole 14
Par 5
- 618
- 582
- 534
- 474
From the tee, players are challenged to find the fairway with a controlled and properly placed drive with water on the left side that does come in play. The second shot presents a classic risk-reward opportunity, where longer hitters may consider advancing the ball aggressively, while most players will benefit from a well-placed layup. Proper decision-making is critical to avoid the trouble that guards the approach into the green. The approach requires accuracy, with the green protected by bunkers and natural contours that narrow the landing area. Distance control and club selection are essential to hold the putting surface.
Hole 13
Par 3
- 159
- 150
- 128
- 107
From the tee, there is little margin for error as the green is framed by surrounding contours and hazards, making club selection critical based on wind and elevation. Take your par and move on.
Hole 12
Par 5
- 562
- 556
- 529
- 500
From the tee, players must focus on accuracy and positioning, as the fairway is tightly guarded with OB on the right side. Around the green, misses can leave challenging recovery shots due to undulation and strong bunkering – a well-executed approach is rewarded.
Hole 11
Par 4
- 397
- 365
- 326
- 321
A well-placed drive is essential to set up a manageable angle into the green. As always with a Cupp course, bunkers and natural slopes that tighten the landing area. Players who miss in the wrong spots may face difficult up-and-down situations, making it important to find the green in regulation.
Hole 1
Par 4
- 420
- 390
- 361
- 327
#1 After a proper warm-up, choose your tees, get the bets right, and settle in for a Bob Cupp-designed round. #1 at The Club at WindRiver is a welcoming opening hole that sets the tone for the round. Players are presented with a wide landing area with gently rolling fairways, bunkers to the left. The putting surface is well-guarded, featuring undulation and strategic bunkering. Overall, the hole rewards a solid, controlled drive and a carefully executed approach. It’s a nice warm-up that sets the tone for the round – emphasizing course management and precision.
Hole 9
Par 4
- 478
- 440
- 410
- 400
Nine is a strong finish to the front, blending scenic views with a demanding layout. As always at WindRiver, the shaping of the hole and surrounding hazards reward accuracy, as being out of position can make the approach significantly more difficult. Around the green, misses are often penalized by challenging recovery angles, placing a premium on hitting the surface in regulation. A well-executed approach is rewarded… errant shots may leave one scrambling.
Hole 8
Par 4
- 422
- 418
- 400
- 347
Hole 8 is a demanding par 4 that continues the course’s theme of rolling fairways and well-protected greens.
Hole 7
Par 3
- 204
- 193
- 174
- 168
Hole 7 is a striking par 3 that highlights the course’s rolling terrain and well-guarded green complexes. Subtle elevation changes and green contours reward a well-struck shot while punishing those that miss their target, especially short right.
Hole 6
Par 4
- 396
- 392
- 362
- 336
From the tee, players are gifted a generous fairway to find. The approach is downhill to the green but be careful where it is located. You can use the contours of the green to your advantage or easily walk off with disappointment.
Hole 5
Par 5
- 575
- 533
- 492
- 448
One of the most dramatic of the 18, the par 5 fifth presents a long, slightly uphill and quite narrow fairway, a hillside left and OB right. Careful shot placement at a premium. The second shot presents a classic decision point. Longer hitters may attempt to reach the green in two, but hazards, elevation, and angles make this a risky play
Hole 4
Par 3
- 190
- 185
- 164
- 156
The first of a strong collection of Par 3’s at WindRiver. This Par 3 plays slightly downhill so be careful with club selection. If you miss, miss short, missing right will ricochet your ball below the putting surface and leave a very difficult recovery.
Hole 3
Par 5
- 553
- 549
- 504
- 469
Great early round opportunity. If you can avoid the bunkers on the right, the second shot gives you a green light playing downhill. Excellent scoring opportunity.
Hole 2
Par 4
- 446
- 409
- 375
- 345
#2 gives you a generous landing area but avoid the bunkers on the right side. The approach is straightforward, but make sure you pay attention to the slope in the middle of the green. It can be a friend or a foe depending on the hole placement.